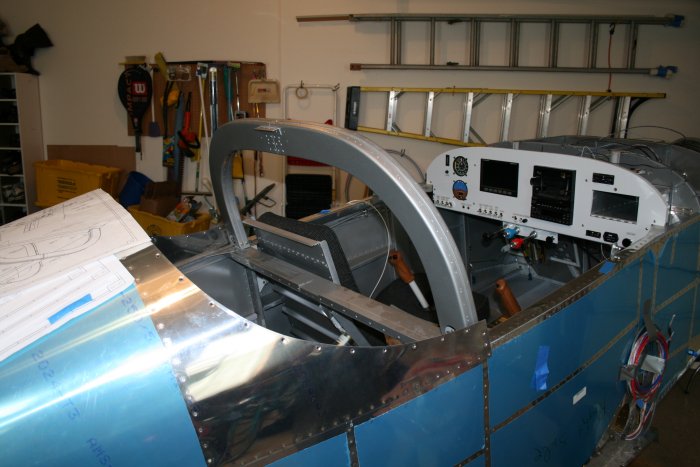
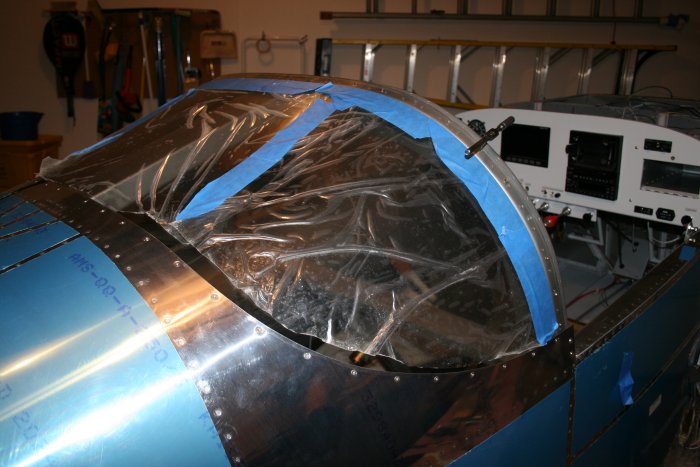
March 30, 2008 - Install Aft Canopy
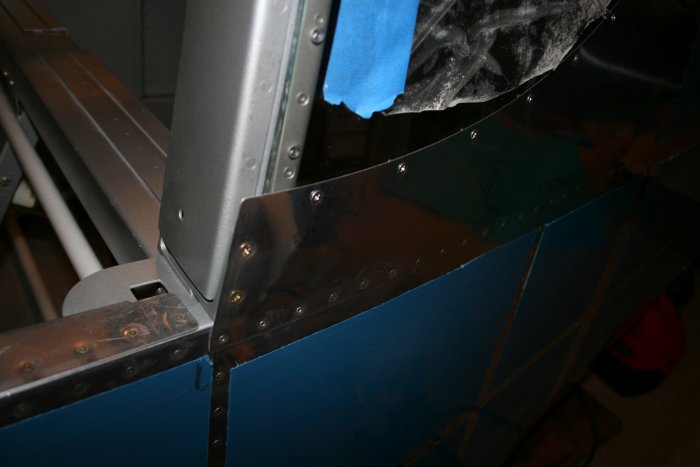
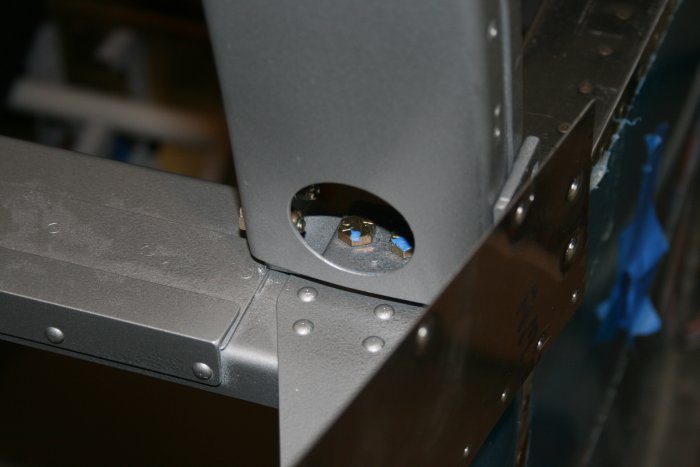
This was
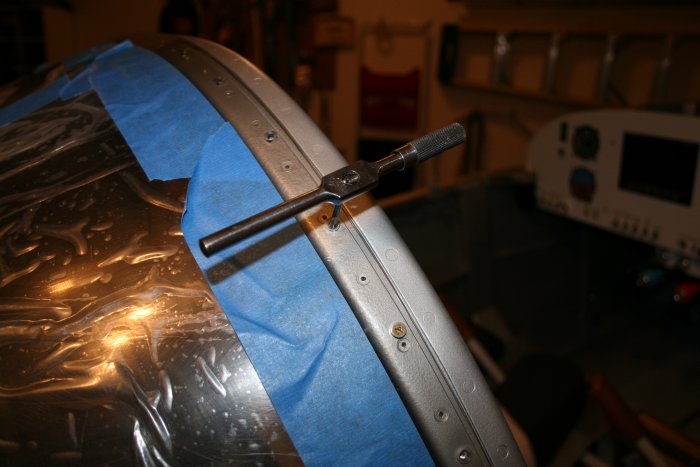
actually a lot easier said than done. You have to get the washer and nuts
on the bolts/screws through that little circular hole. After some
trial and error, what worked for me was folding a piece of blue masking tape over so it
was sticky on both sides. Then I stuck the washer/nut to the tape and
the tape to a finger tip. I could find the bolt/screw end by feel
and get the washer/nut
started.
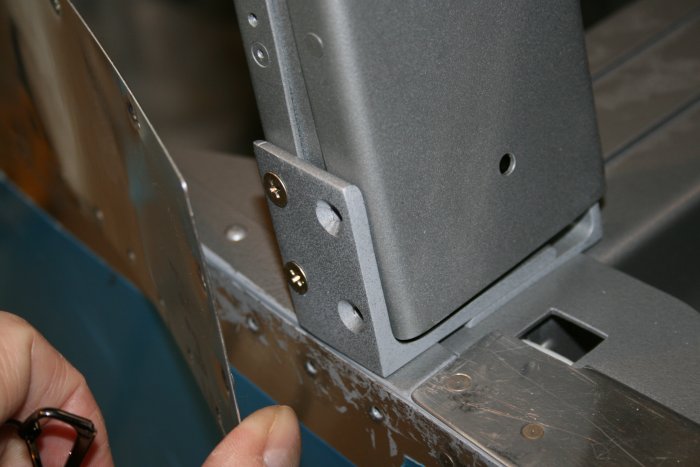
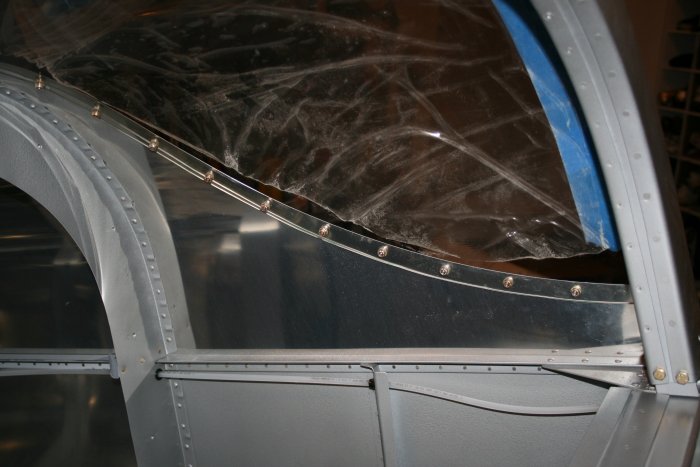
The inside bolts.

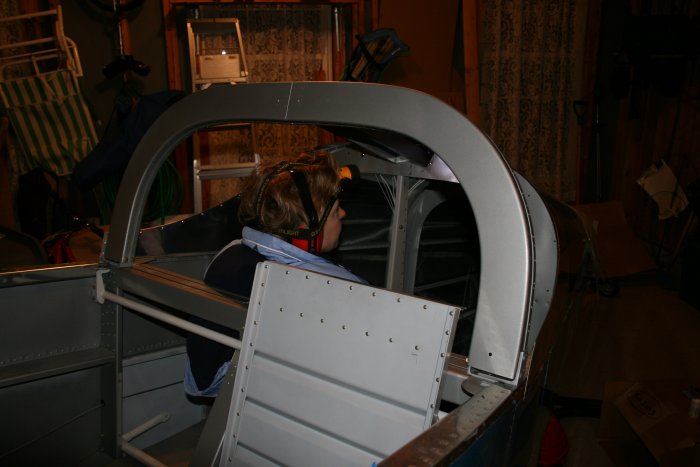

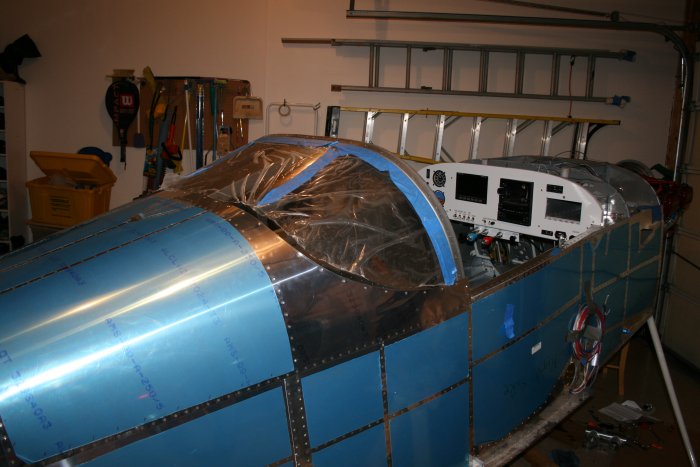
The aft canopy slid right in without
problem. It was easy putting the #6 flush screws in the canopy's
trailing
edge.
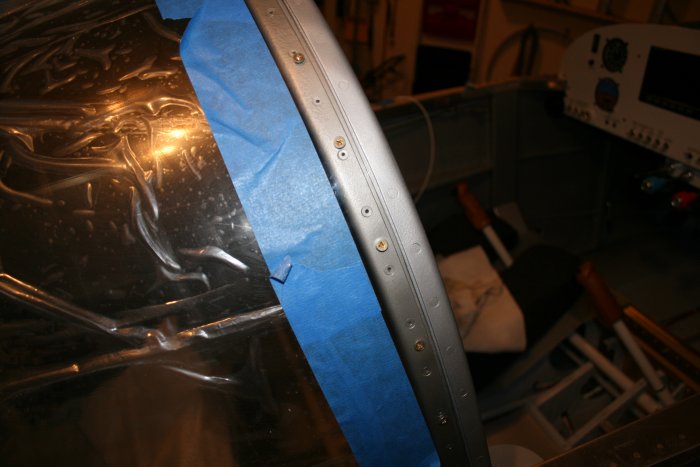
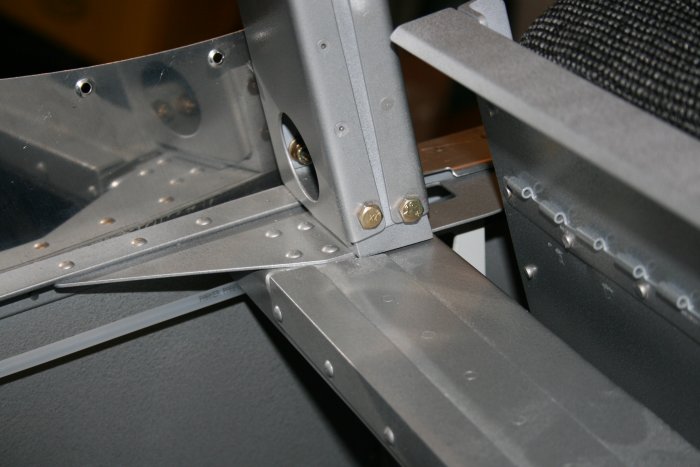
The left side is
done.